Interacting with a NFTMart Node Using MetaMask
Introduction
MetaMask can be used to connect to NFTMart through the NFTMart node.
This guide outlines the steps needed to connect MetaMask to a NFTMart node in order to send tokens between accounts.
You can interact with NFTMart in two ways: by using Substrate RPC endpoints or using Web3-compatible RPC endpoints. The latter endpoints are currently being served from the same RPC server as the Substrate RPCs. In this tutorial, we will use the Web3 RPC endpoints to interact with NFTMart.
Install the MetaMask Extension
First, we start with a fresh and default MetaMask installation from the Chrome store. After downloading, installing, and initializing the extension, follow the "Get Started" guide. In there, you need to create a wallet, set a password, and store your secret backup phrase (this gives direct access to your funds, so make sure to store these in a secure place).
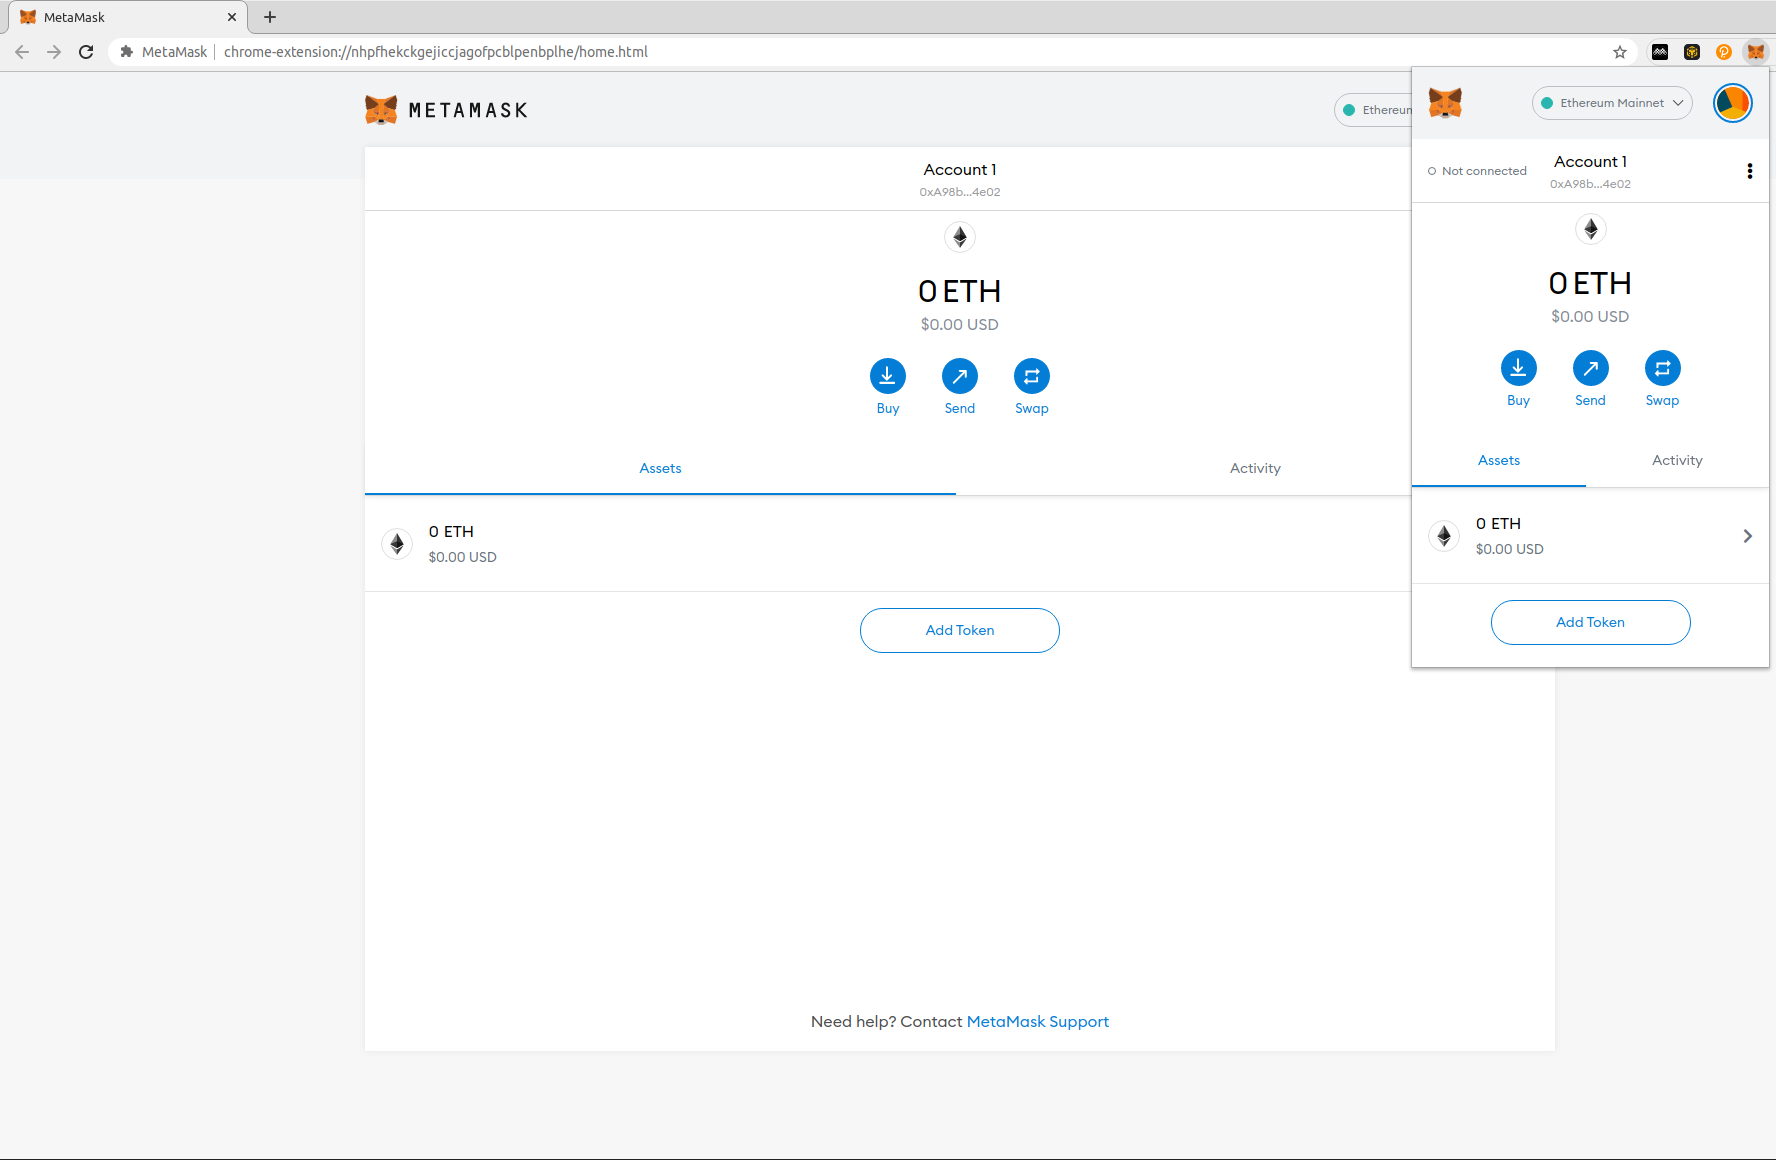
Once completed, we will import the development account, The details for the development accounts that comes pre-funded for this test node are as follows:
- Alith:
- Public Address:
0xf24FF3a9CF04c71Dbc94D0b566f7A27B94566cac - Private Key:
0x5fb92d6e98884f76de468fa3f6278f8807c48bebc13595d45af5bdc4da702133
- Public Address:
- Baltathar:
- Public Address:
0x3Cd0A705a2DC65e5b1E1205896BaA2be8A07c6e0 - Private Key:
0x8075991ce870b93a8870eca0c0f91913d12f47948ca0fd25b49c6fa7cdbeee8b
- Public Address:
- Charleth:
- Public Address:
0x798d4Ba9baf0064Ec19eB4F0a1a45785ae9D6DFc - Private Key:
0x0b6e18cafb6ed99687ec547bd28139cafdd2bffe70e6b688025de6b445aa5c5b
- Public Address:
- Dorothy:
- Public Address:
0x773539d4Ac0e786233D90A233654ccEE26a613D9 - Private Key:
0x39539ab1876910bbf3a223d84a29e28f1cb4e2e456503e7e91ed39b2e7223d68
- Public Address:
- Ethan:
- Public Address:
0xFf64d3F6efE2317EE2807d223a0Bdc4c0c49dfDB - Private Key:
0x7dce9bc8babb68fec1409be38c8e1a52650206a7ed90ff956ae8a6d15eeaaef4
- Public Address:
- Faith:
- Public Address:
0xC0F0f4ab324C46e55D02D0033343B4Be8A55532d - Private Key:
0xb9d2ea9a615f3165812e8d44de0d24da9bbd164b65c4f0573e1ce2c8dbd9c8df
- Public Address:
- Goliath:
- Public Address:
0x7BF369283338E12C90514468aa3868A551AB2929 - Private Key:
0x96b8a38e12e1a31dee1eab2fffdf9d9990045f5b37e44d8cc27766ef294acf18
- Public Address:
- Heath:
- Public Address:
0x931f3600a299fd9B24cEfB3BfF79388D19804BeA - Private Key:
0x0d6dcaaef49272a5411896be8ad16c01c35d6f8c18873387b71fbc734759b0ab
- Public Address:
- Ida:
- Public Address:
0xC41C5F1123ECCd5ce233578B2e7ebd5693869d73 - Private Key:
0x4c42532034540267bf568198ccec4cb822a025da542861fcb146a5fab6433ff8
- Public Address:
- Judith:
- Public Address:
0x2898FE7a42Be376C8BC7AF536A940F7Fd5aDd423 - Private Key:
0x94c49300a58d576011096bcb006aa06f5a91b34b4383891e8029c21dc39fbb8b
- Public Address:
- Gerald:
- Public Address:
0x6Be02d1d3665660d22FF9624b7BE0551ee1Ac91b - Private Key:
0x99b3c12287537e38c90a9219d4cb074a89a16e9cdb20bf85728ebd97c343e342
- Public Address:
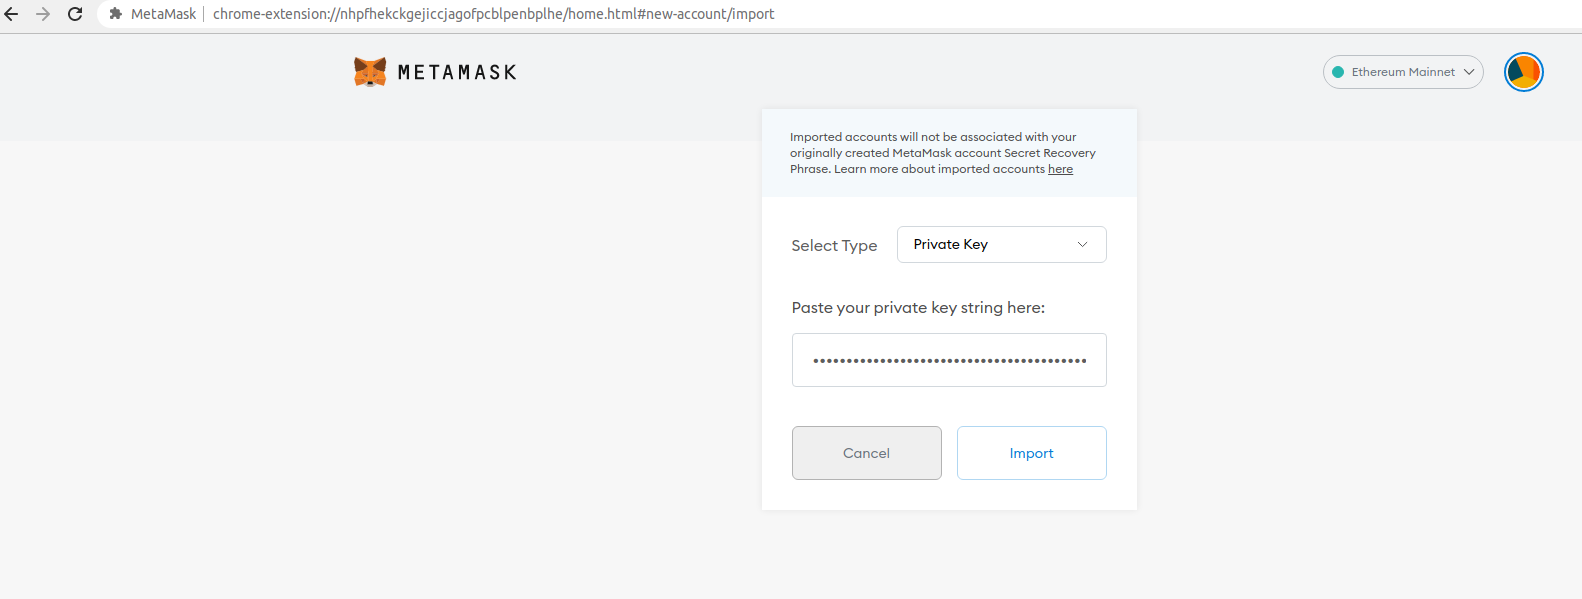
On the import screen, select “Private Key” and paste in one of the keys listed above. For this example we'll use Gerald's key:
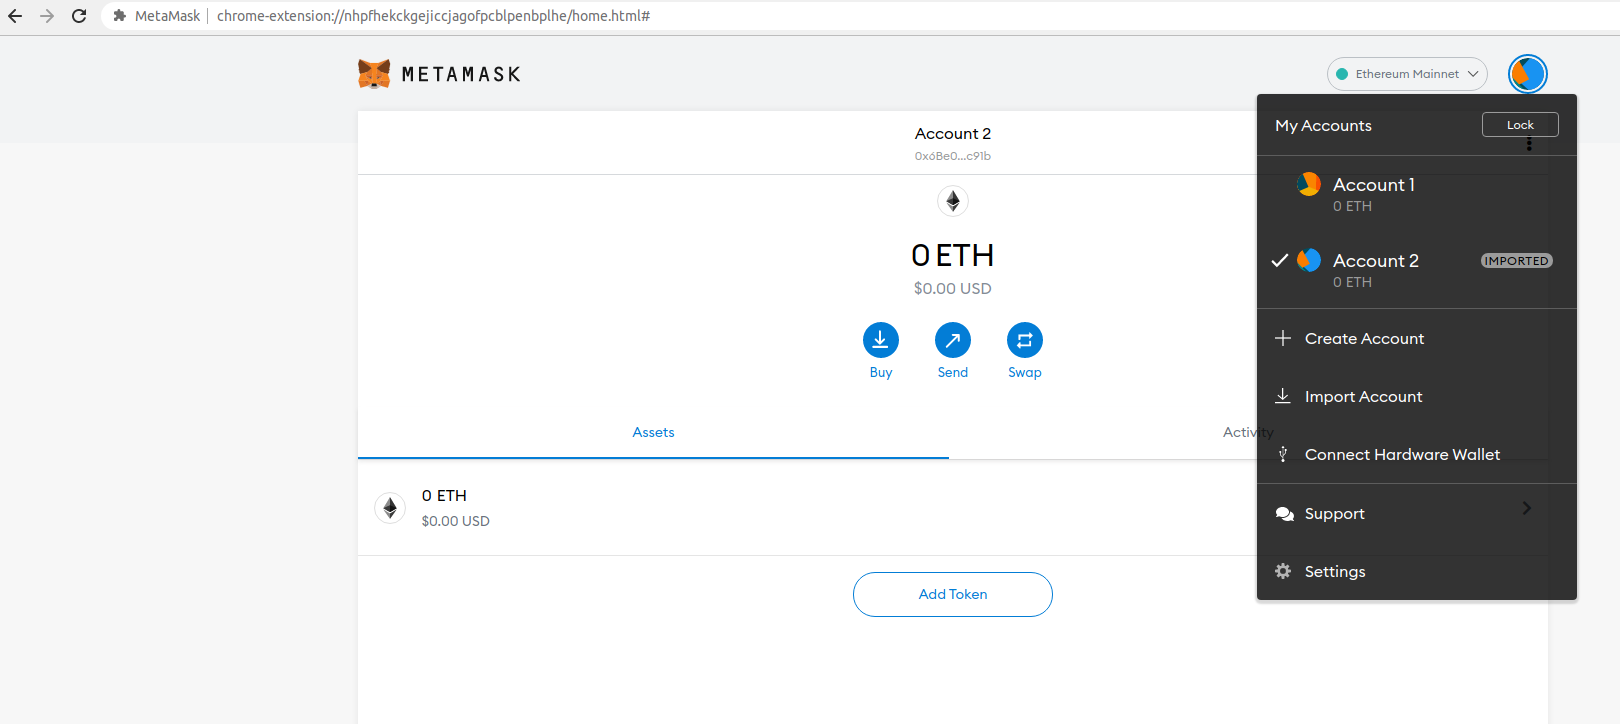
You should end up with an imported “Account 2” that looks like this:
Connecting MetaMask to NFTMart
To connect MetaMask to NFTMart, navigate to Settings -> Networks -> Add Network. This is where you can configure which network you would like MetaMask to connect to, using the following network configurations:
- Network Name:
NFTMart Local Develop - RPC URL:
http://127.0.0.1:8545 - ChainID:
1500 - Symbol (Optional):
MINI - Block Explorer (Optional):
https://miniscan.coming.chat/
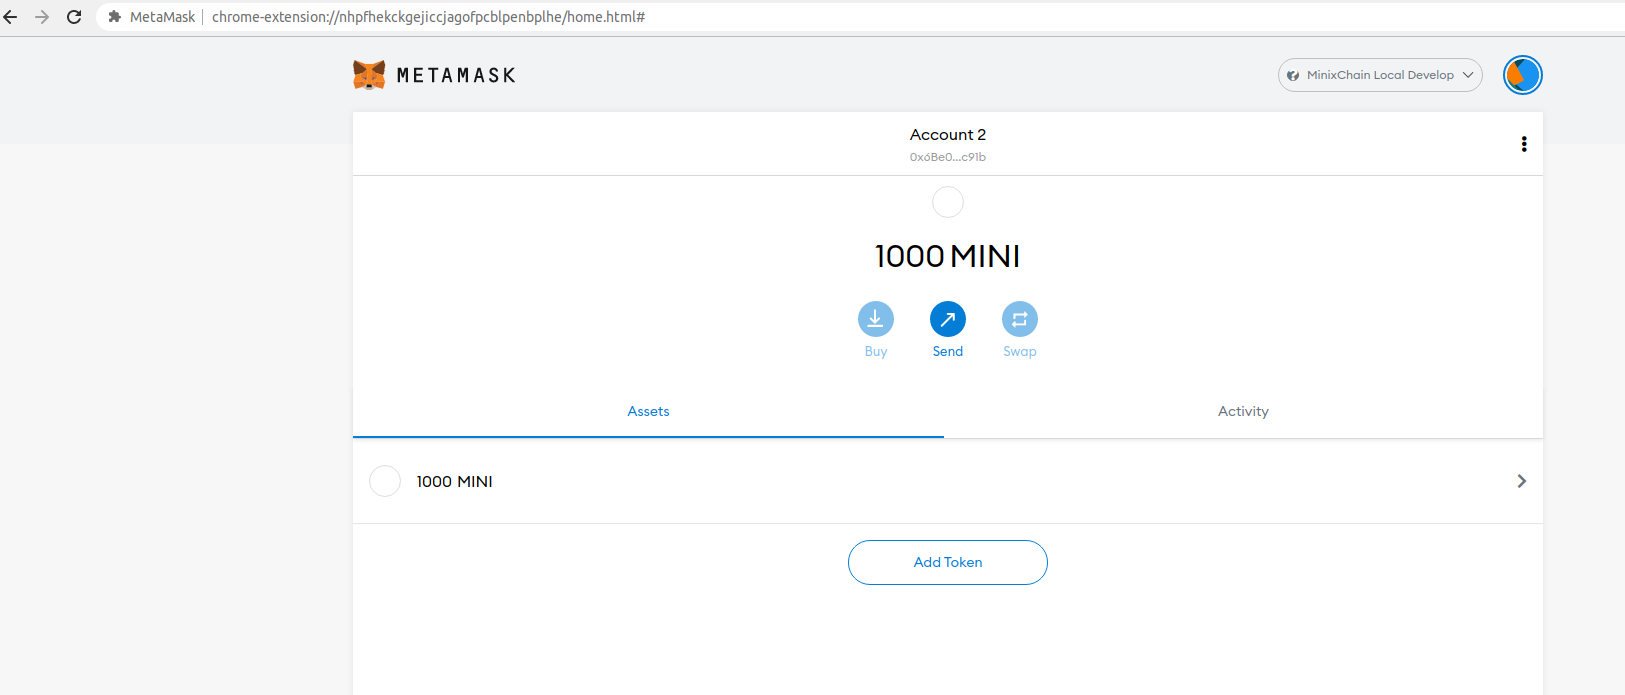
When you hit "save" and exit the network settings screen, MetaMask should be connected to the NFTMart node via its Web3 RPC, and you should see the NFTMart dev account with a balance of 1000 MINI.
Initiating a Transfer
Let’s try sending some tokens with MetaMask.
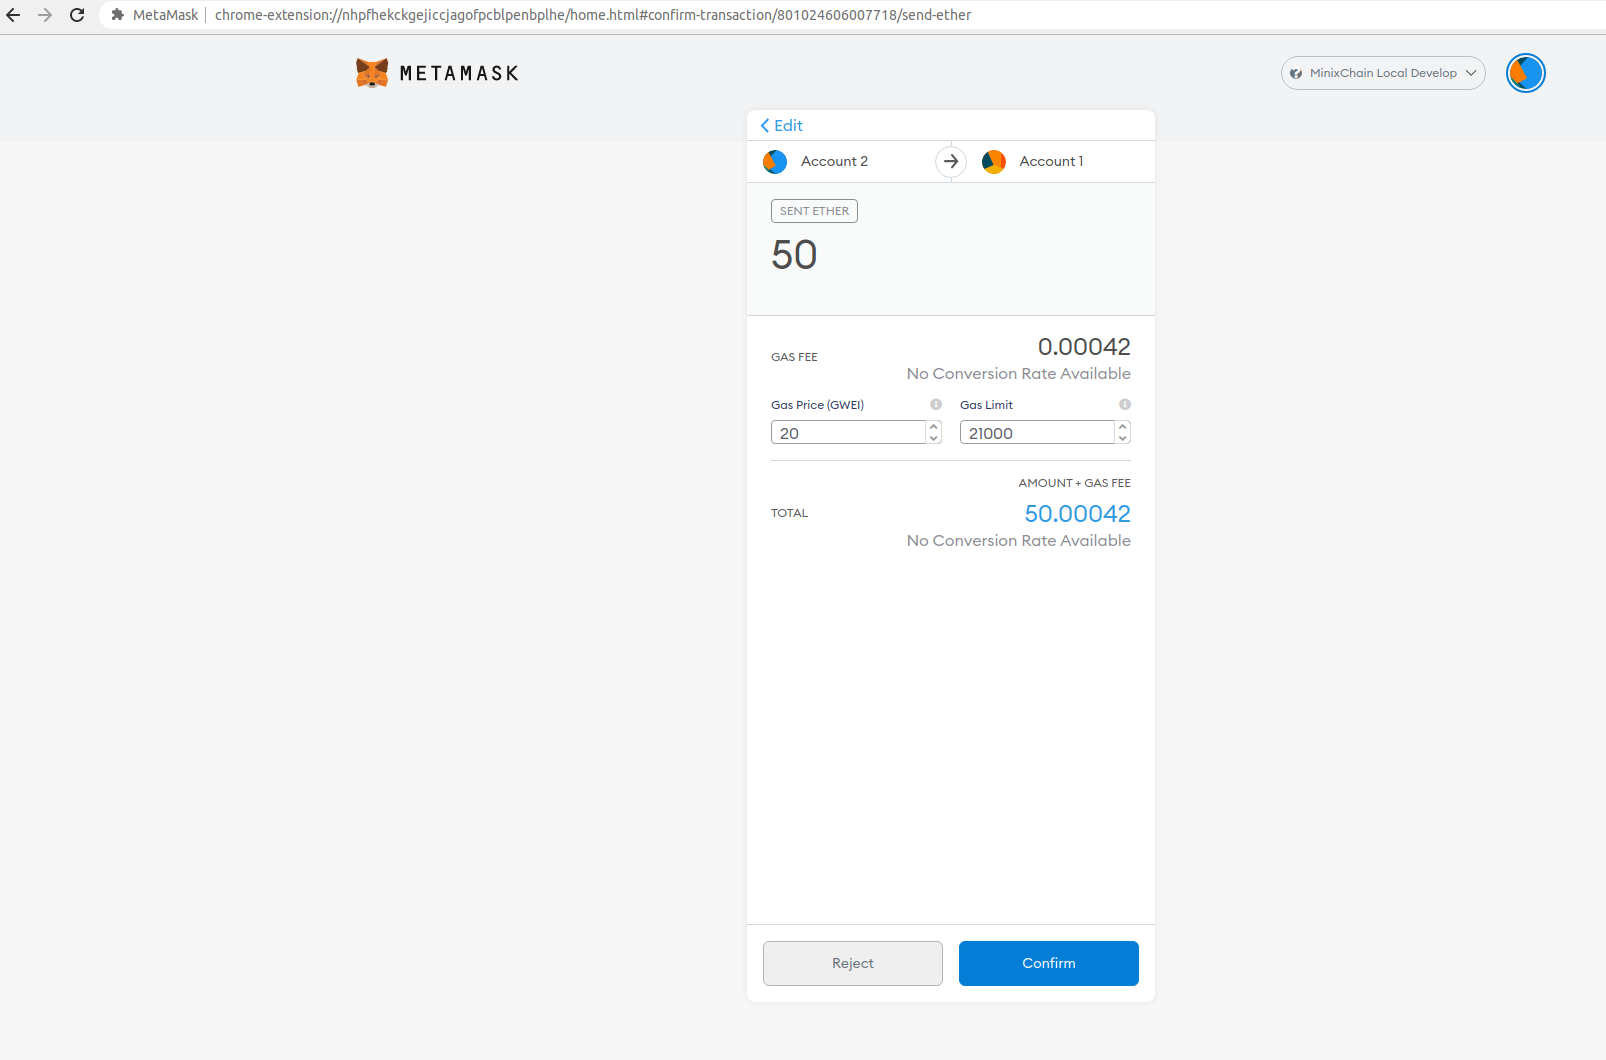
For simplicity, we will transfer from this dev account to the one created while setting up MetaMask. Click "Send" to initiate the transfer. Consequently, we can use the “Transfer between my accounts” option. Let’s transfer 100 tokens and leave all other settings as they are:
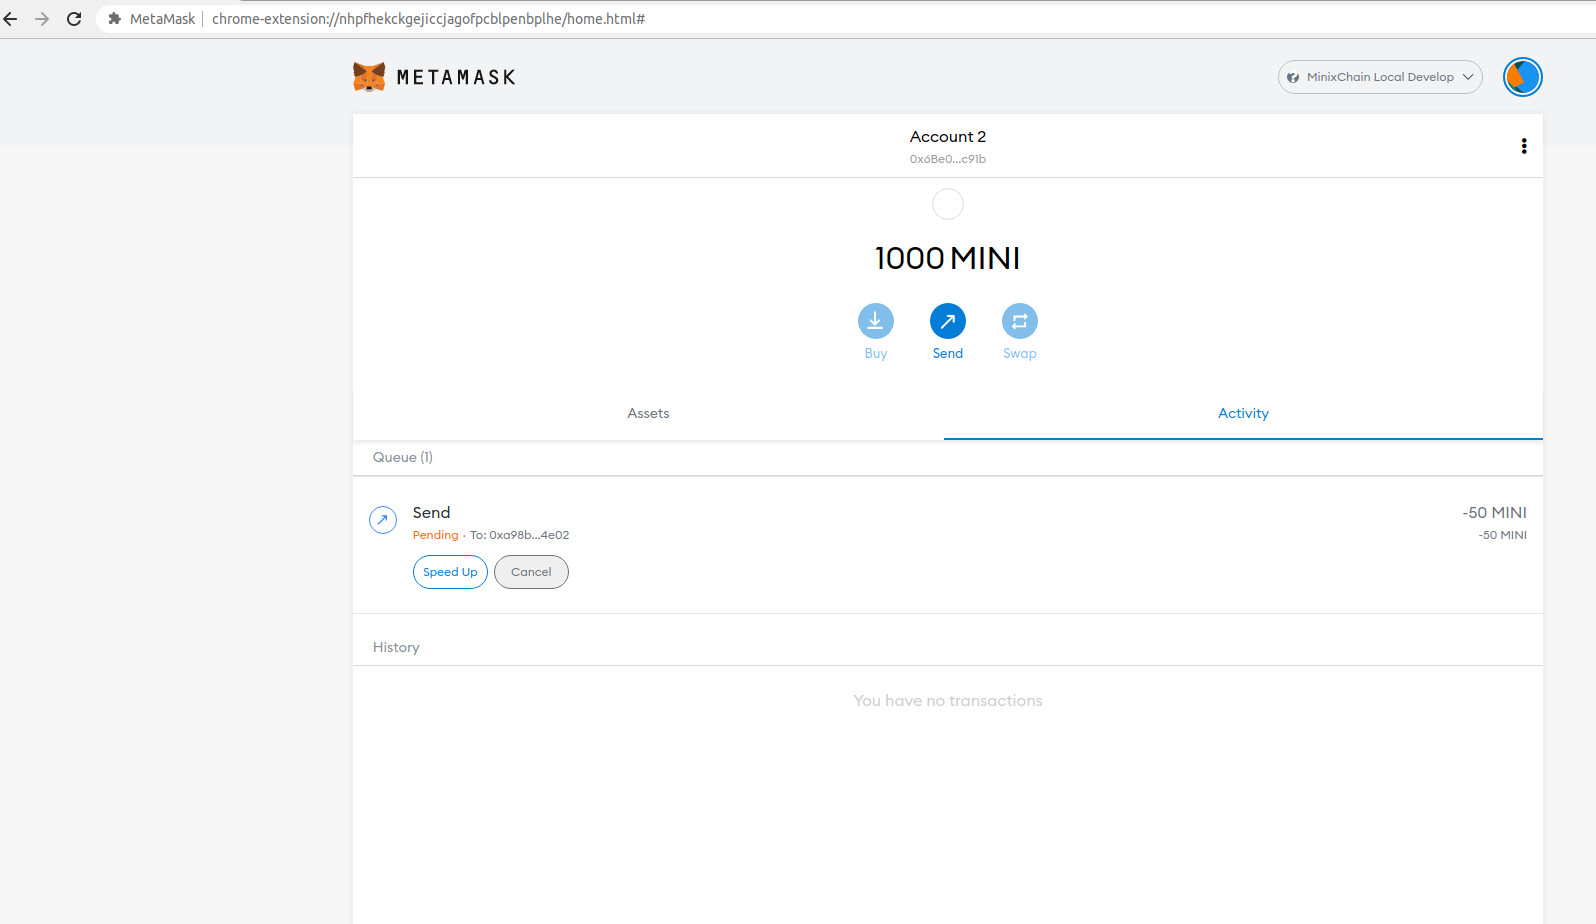
Once you have submitted the transaction, you will see it “pending” until it is confirmed, as shown in the following image:
When the transaction is confirmed, the balance of Account 2 will be updated, as shown in the following image:
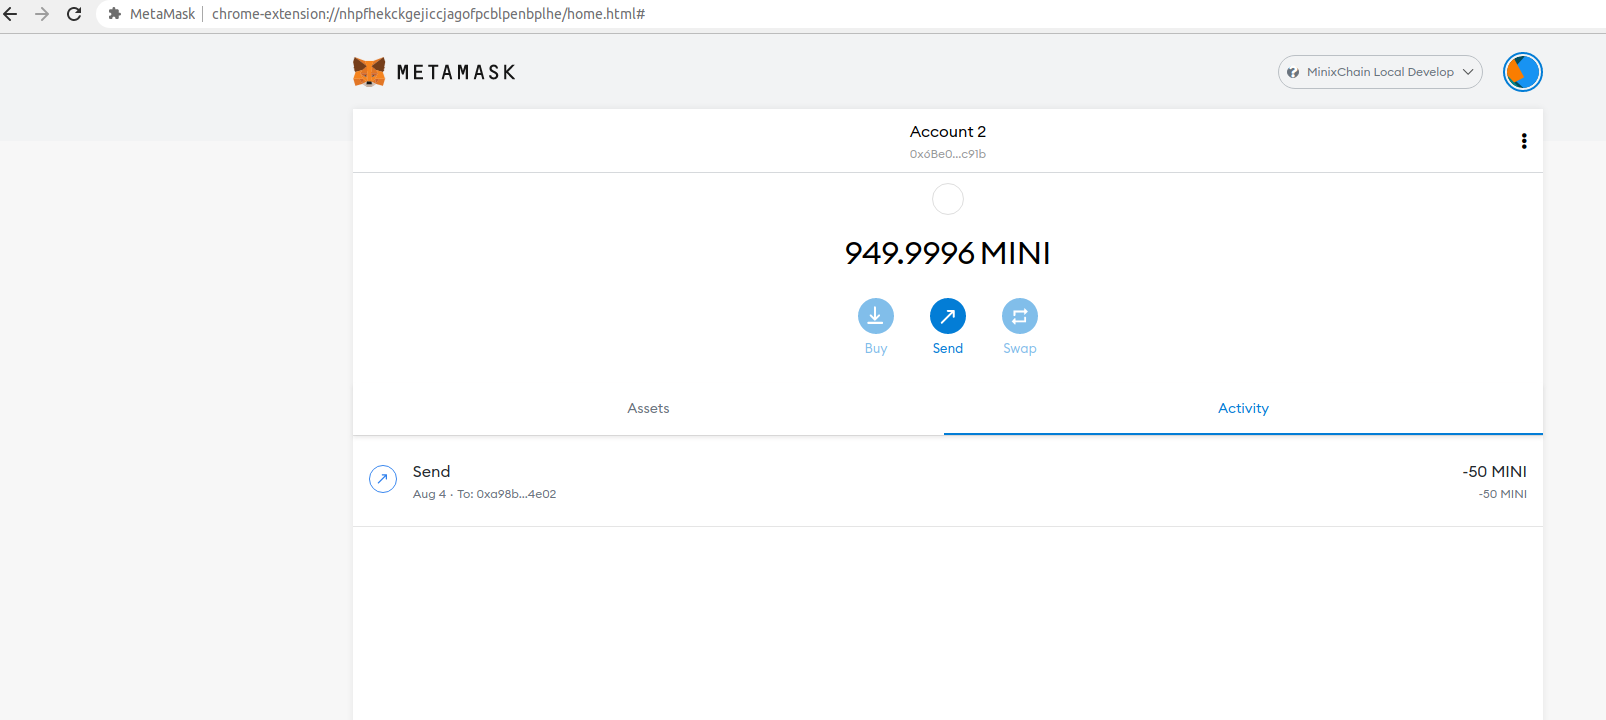
Note that the Account 2 balance has been decreased by the sent amount + gas fees.
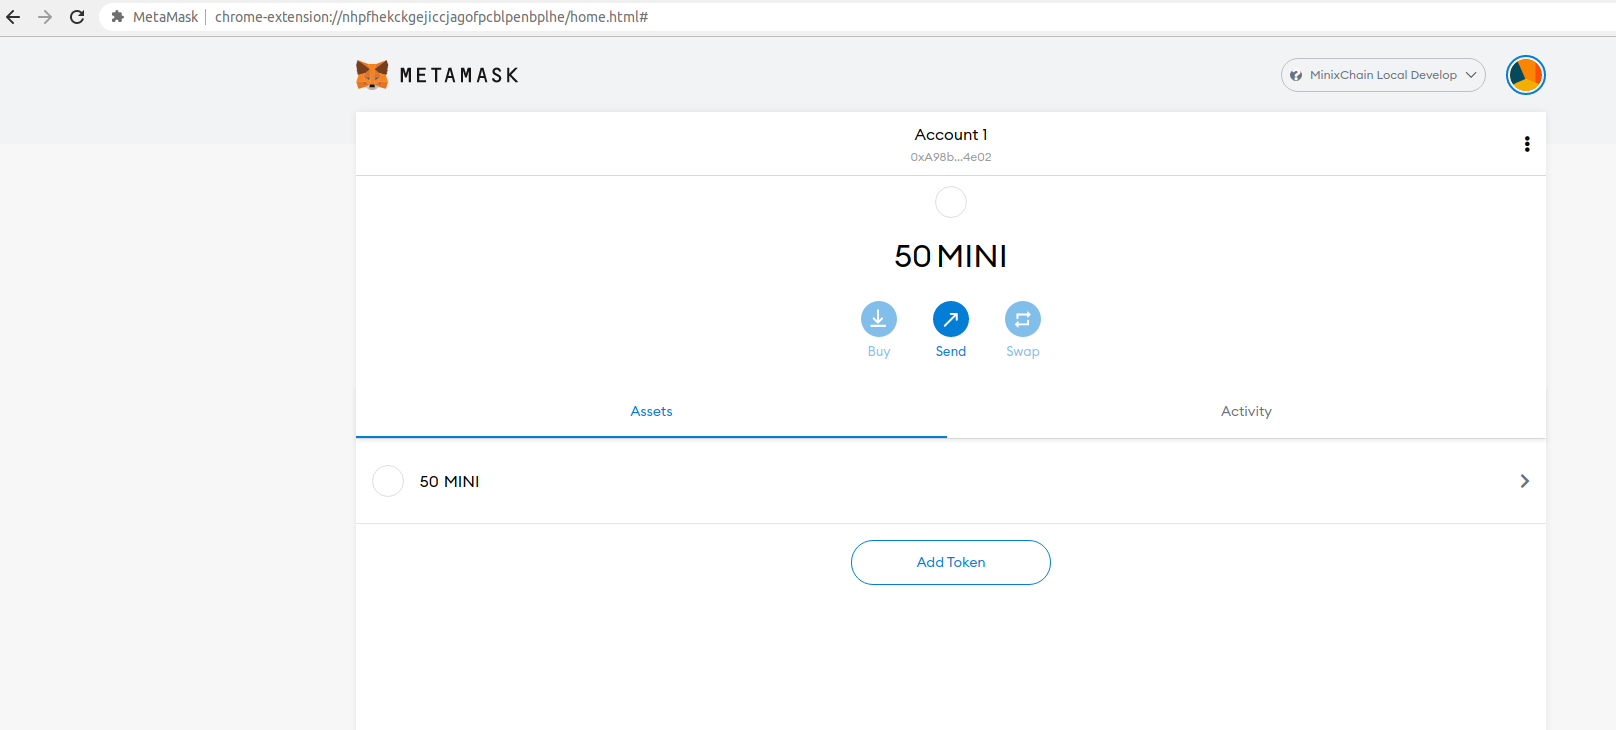
Flipping over to Account 1, we see the 50 sent tokens have arrived:
